Getting creative with handmade cards and decorations adds a personal touch to any special occasion. Whether it’s a birthday, anniversary, or holiday celebration, crafting unique pieces can make the event even more memorable. In this article, I’ll share some easy yet impressive DIY ideas to help you elevate your gift-giving and party decor game.
From simple but elegant card designs to intricate paper ornaments, there’s something special about receiving a handmade creation. I’ll guide you through the steps, materials needed, and tips for creating stunning cards and decorations that will leave a lasting impression on your loved ones. Let’s dive into the world of crafting and unleash your inner artist to make every occasion extra special.
Getting Started with Handmade Cards and Decorations
Creating handmade cards and decorations for special occasions can be a rewarding and heartfelt way to add a personal touch to your celebrations. Whether it’s a birthday, anniversary, or holiday gathering, crafting unique pieces can elevate the overall experience and make the event even more memorable. In this section, I’ll guide you through some simple yet impressive DIY ideas to enhance your gift-giving and party decor.
To begin your journey into the world of crafting handmade cards and decorations, consider the following steps:
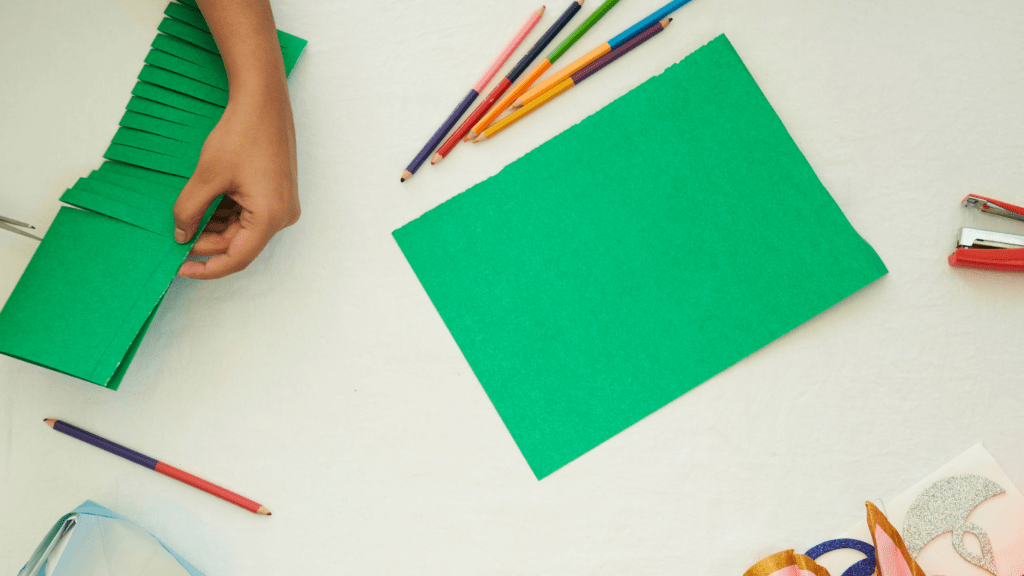
- Gather Essential Supplies: Start by collecting basic crafting supplies such as cardstock, decorative papers, glue, scissors, markers, embellishments like stickers or ribbons, and other materials that align with your creative vision.
- Choose a Design Theme: Select a design theme that resonates with the occasion you’re celebrating. Whether it’s a floral motif for a spring birthday or a glittery theme for a festive holiday card, having a consistent design theme will tie your creations together.
- Sketch Out Ideas: Before diving into the crafting process, sketch out rough ideas of how you want your cards or decorations to look. This step can help you visualize the final product and make necessary adjustments before starting the actual construction.
- Experiment with Techniques: Explore different crafting techniques such as stamping, embossing, quilling, or origami to add depth and intricacy to your creations. Don’t be afraid to try new approaches and combine various methods for a unique outcome.
- Personalize Your Creations: Infuse your handmade cards and decorations with personal touches like handwritten messages, photos, or custom illustrations. Adding these personal elements can make your pieces truly one-of-a-kind and meaningful to the recipient. And if you’re short on time or looking for inspiration, you can always print birthday cards for free from online resources to complement your handmade pieces or even spark new ideas for your own creations.
Essential Tools and Materials for DIY Projects
When diving into the world of crafting handmade cards and decorations, having the right tools and materials at your disposal can make all the difference. Here’s a breakdown of the basic supplies for card making and special tools for creating intricate decorations to help you elevate your DIY projects:
Basic Supplies for Card Making
- Cardstock: Sturdy paper that serves as the base for your cards.
- Scissors: Essential for cutting paper and shaping your designs.
- Adhesives: Glue, double-sided tape, or adhesive dots to assemble your card elements.
- Markers or Pens: For adding handwritten messages or embellishments.
- Decorative Paper: Patterned or textured paper to add visual interest.
- Stamps and Ink pads: Great for adding unique designs and patterns.
- Embellishments: Think ribbons, stickers, sequins, or beads for extra flair.
- Ruler and Cutting Mat: Useful for measuring and cutting straight lines.
- Envelopes: Don’t forget the perfect finishing touch for your handmade cards.
- Die Cutting Machine: Ideal for creating precise and intricate designs.
- Heat Embossing Tool: Adds a raised, glossy finish to your decorations.
- Paper Trimmer: Ensures clean and straight cuts for a professional look.
- Punches: Create shaped cutouts and borders effortlessly.
- Embossing Folder: Adds texture and dimension to your paper crafts.
- Detail Scissors: Perfect for intricate cutting and delicate designs.Quilling Tool: Great for creating intricate paper filigree designs.
- Bone Folder: Helps create crisp folds and creases for a polished finish.
- Stencils: Use stencils for repeating patterns or adding intricate details to your creations.
Armed with these essential supplies and tools, you’re all set to embark on your DIY journey and create beautiful handmade cards and decorations for any special occasion.
Design Ideas for Special Occasions
When it comes to creating handmade cards and decorations for special occasions, one of the most popular events to craft for is weddings. For wedding cards and decorations, it’s essential to focus on elegance and romance to match the tone of the celebration. Here are some design ideas to inspire your creations:
- Elegant Floral Designs: Incorporate delicate floral patterns and motifs using stamps, watercolors, or paper cutouts to add a touch of sophistication to your wedding cards and decorations.
- Embossed Details: Use embossing tools to create raised designs like intricate borders, monograms, or floral accents for a luxurious and textured look.
- Personalized Monograms: Add a personal touch by including the initials or monograms of the couple in your designs, whether on the cards or as part of the decorations for a customized feel.
- Lace and Ribbon Accents: Enhance the romantic theme of weddings by incorporating lace trims, ribbons, or bows into your creations for an extra layer of elegance.
- Vintage Inspired: Opt for a vintage aesthetic by using muted color palettes, aged paper, and distressed edges to evoke a nostalgic and timeless appeal in your wedding cards and decorations.
Personalizing Your Creations
Personalizing handmade cards and decorations adds a unique touch to special occasions like weddings. Incorporating customized elements not only makes the creations stand out but also adds sentimental value to the recipient. Here are some strategies on how to personalize your handmade creations effectively:
- Customization With Monograms:
Adding monograms to your cards and decorations is a classic way to personalize them. You can include the initials of the couple getting married, the recipient of the card, or customize it with relevant symbols or icons. Monograms give a sophisticated and tailored look to your creations. - Incorporating Photos and Images:
Including personal photos or images in your handmade cards adds a heartfelt touch. You can print memorable pictures of the couple, the recipient, or relevant imagery related to the occasion. This adds a personal connection and emotional appeal to the cards and decorations. - Handwritten Messages and Quotes:
Handwriting a personal message, quote, or note on the card adds a warm and personal touch. Your words express your sentiments and make the recipient feel special. Whether it’s a heartfelt message for a wedding couple or a touching quote for a birthday card, handwritten elements evoke sincerity and thoughtfulness. - Color Coordination and Theme Matching:
Personalize your creations by aligning the colors and themes with the recipient’s preferences or the event’s theme. Choosing specific colors that hold significance or match the event’s decor enhances the personalization. It shows attention to detail and reflects a thoughtful approach in crafting the cards and decorations. - Incorporating Symbols and Embellishments:
Adding meaningful symbols or embellishments that resonate with the recipient can elevate the personalization of your creations. Whether it’s a symbolic charm, a certain flower that holds significance, or a specific embellishment that conveys a message, these elements enrich the overall look and feel of the handmade cards and decorations.
Personalizing your handmade cards and decorations infuses them with a personal touch and emotional connection, making them memorable keepsakes for special occasions. By incorporating customized elements like monograms, photos, handwritten messages, color coordination, and meaningful symbols, you can create truly unique and heartfelt creations that resonate with the recipients.
Tips for a Professional Finish
- Precision in Cutting and Folding
Use a sharp pair of scissors or a craft knife for clean cuts.
Maintain straight lines and precise angles for a polished look. - Quality Materials
Opt for high-quality paper, cardstock, ribbons, and embellishments.
Choose materials that complement each other for a cohesive design. - Neatness in Gluing
Apply adhesive sparingly to avoid smudges or excess glue marks.
Press down firmly for a secure bond without seepage. - Attention to Detail
Check for any stray glue, paper scraps, or imperfections before finalizing.
Small details like embossing, hand-stitching, or embellishments can elevate the overall look. - Consistent Theme
Maintain a consistent theme or color palette throughout your design.
Ensure all elements work together harmoniously for a professional finish.