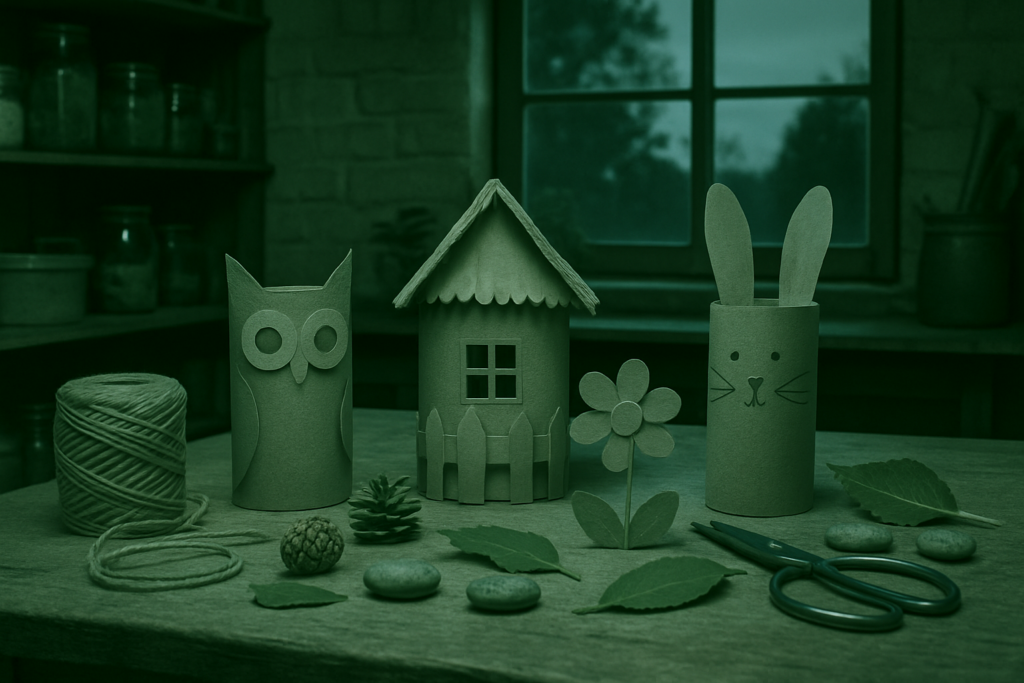
Cardboard Tube Race Cars
Turn your recycling bin into a racetrack with this fun and educational DIY project. Perfect for kids of all ages, cardboard tube race cars offer hands on fun while sneaking in a little STEM learning too.
Materials Needed:
Toilet paper rolls (or paper towel rolls cut in half)
Bottle caps (for wheels)
Straws (for axles)
Markers, stickers, and paint for decoration
Glue or tape
Scissors or a craft knife (adult use only)
How to Make It:
- Prepare the body: Take a toilet paper roll and cut out a small rectangle on top to create the “cockpit.”
- Add axles: Poke holes in the sides of the tube and insert straws through them. These will hold your wheels.
- Attach wheels: Hot glue or tape bottle caps onto the ends of the straws to create wheels that spin.
- Customize: Let kids decorate their vehicles with markers, paper decals, or stickers.
Learning Angle:
Use this as a simple STEM lesson on motion, friction, and force.
Have kids test their cars on different surfaces (tile, carpet, ramps) and track which ones go the farthest or fastest.
Encourage them to guess outcomes before racing learning through experimentation.
Extend the Play:
Build a homemade race track using cardboard, masking tape, or painter’s tape on the floor.
Turn it into a game or friendly competition with prizes for creativity, speed, or distance.
This project is a great way to combine creativity, education, and sustainable crafting all from a few items already lying around the house.
DIY Sock Puppets
Lost a sock? Don’t toss it turn it into a puppet. Raid your button jar, grab some yarn, and give that lonely sock a second life. Kids can glue on eyes, stitch a mouth, maybe even add a little felt tongue if they’re feeling ambitious.
This one’s more than a craft it’s a launchpad for storytelling. Once your kids bring their characters to life, it opens up space for creativity, conversation, and even a bit of informal playwriting. They can put on a puppet show using blankets over chairs or a cardboard box turned theater.
No expensive supplies, no major prep just imagination and a missing sock finally serving a purpose.
Paper Towel Roll Binoculars
Grab two empty paper towel rolls and tape them side by side nothing fancy, just enough to keep them together. This is your kid’s base model for a pair of DIY explorer binoculars. Now hand over the markers, stickers, paint, or whatever craft scraps you’ve got. Let them go wild with the design. Don’t worry about symmetry, this is about creativity, not precision.
Next, punch holes on the outer edges and thread a string through to turn them into wearable gear. Instant explorer upgrade.
Once they’re built and decorated, it’s time for action. Head out into the backyard, local park, or even just the balcony. Turn it into a mini safari “spot the butterfly,” “find the tallest tree,” “track the squirrel.” It’s a fast way to make play feel like adventure with almost zero prep.
Milk Jug Watering Cans
Take an empty plastic milk jug, rinse it out, and poke small holes in the cap with a nail or screwdriver. Let the kids decorate the outside with markers, stickers, or paint something simple but personal. Once dry, fill it with water and send them out to the garden or a few potted plants.
This one’s more than a mini craft. It’s about introducing care and routine. Plants don’t survive on one time effort, and kids get to see that firsthand. You’re teaching responsibility without turning it into a lecture.
Bonus: it keeps plastic out of the trash and gives it a useful second life. That’s a win across the board.
Cereal Box Marble Maze
Take an empty cereal box and transform it into a tabletop marble maze using scissors, glue, and leftover cardboard strips. Cut the front panel off the box to create a flat base. Then, piece together pathways by gluing strips at curves, intersections, and slopes. You can go simple or build multi level challenges if your kids like a bit of ambition.
As they drop marbles into the maze, kids naturally fine tune their hand eye coordination and they’ll also start thinking spatially, adjusting when something doesn’t roll just right. Want to level it up? Add labeled zones, timed runs, or marbles of different weights.
It’s a balance of structure and creativity, all from what used to be trash.
Homemade Bird Feeders

This one’s simple but satisfying. Grab a used paper towel roll, smear it with peanut butter, then roll it in birdseed until it’s coated like a snack popsicle for birds. Slide the roll over a branch or hang it with string in the backyard. That’s it.
Once it’s up, pause and let nature do its thing. Within a day, birds will start showing up sparrows, finches, even the occasional cardinal if you’re lucky. Kids can learn basic bird identification without leaving the yard. You don’t need a nature preserve to connect with wildlife; just a good perch and some peanut butter.
Egg Carton Bugs
Start by cutting individual cups from an empty egg carton. Let kids paint them however they like realistic insect colors or full on fantasy bugs. Once they dry, grab some pipe cleaners or uncooked pasta to use as legs and antennae. A little glue, maybe some googly eyes, and you’ve got instant creepy crawlies.
From there, you can turn it into a mini science lesson. Set up an insect ID chart. See how many types of bugs you can “make” and match. Ladybugs, beetles, caterpillars each one opens the door to new facts. It’s hands on, creative, and just sneaky enough to feel more like play than learning.
DIY Lava Lamps
This one’s as cool as it is simple. Grab a clear water bottle, fill it about two thirds with oil, then top it off with water. Add a few drops of food coloring watch them sink before they burst into color. The real magic kicks in when you drop in a piece of Alka Seltzer. Suddenly, you’ve got a bubbling, glowing lava lamp made from shelf staples.
It’s a fun way to show kids that oil and water don’t mix, and how gas from the dissolving tablet makes everything rise and fall. It’s basic chemistry, dressed up in color and motion. Plus, since it’s all contained in a bottle, cleanup stays low and the wow factor stays high.
Recycled Art Collages
This one’s all about creative freedom. Grab whatever you’ve got lying around old magazines, snack packaging, worn out fabric scraps and let the kids rip, cut, and glue without a rulebook. No need for a theme, no pressure to make it pretty. The goal is to turn random materials into something personal and expressive.
It’s a great way to teach visual storytelling without words. Let your kid explain what their collage means to them. Maybe it reflects their mood. Maybe it’s just dinosaurs and glitter. Either way, they’re processing ideas and emotions through art. Bonus: it’s low cost, low mess, and 100% up to interpretation.
There’s no wrong move here just a table, some glue, and imagination doing the heavy lifting.
Tin Can Wind Chimes
Start by cleaning out a few empty cans soup, beans, coffee, doesn’t matter. Peel off the labels and let the kids paint them however they want. Abstract, rainbow stripes, full on ladybug motifs it’s all fair game. Once they’re dry, punch a hole in the top and thread a string through for hanging.
Now for the fun part: sound. Use whatever you’ve got old beads, stray washers, jingle bells, or even buttons. Tie them to strings of varying lengths and suspend them from inside the can or along the bottom rim. Hang the finished chimes outside and wait for the breeze to do its thing.
It’s a simple way to teach cause and effect (wind + movement = sound), and it also introduces kids to upcycling using what you already have in a new way. Bonus: no batteries or screens required.
Explore even more crafts from household items for creative inspiration that keeps mess simple and learning active.