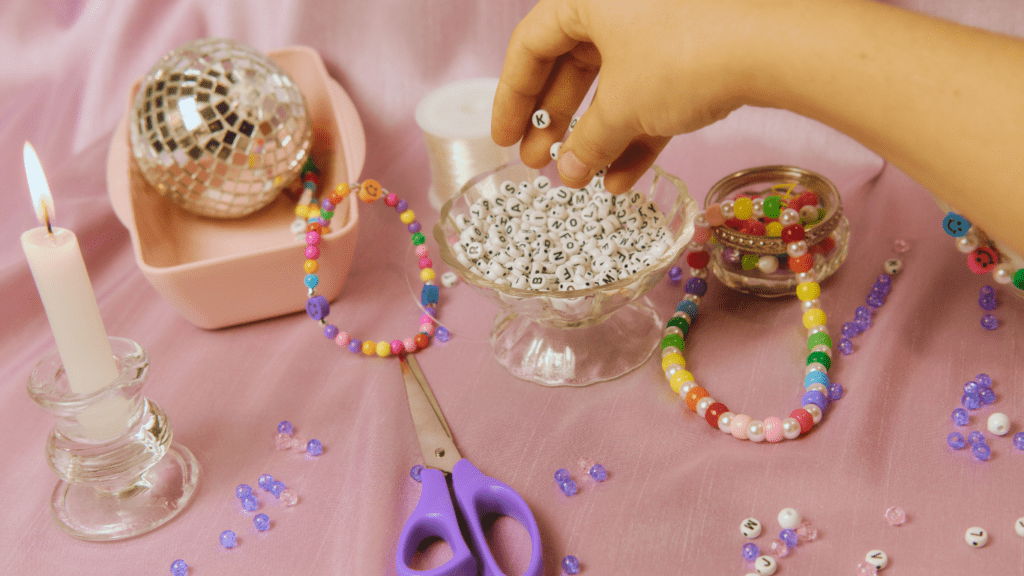
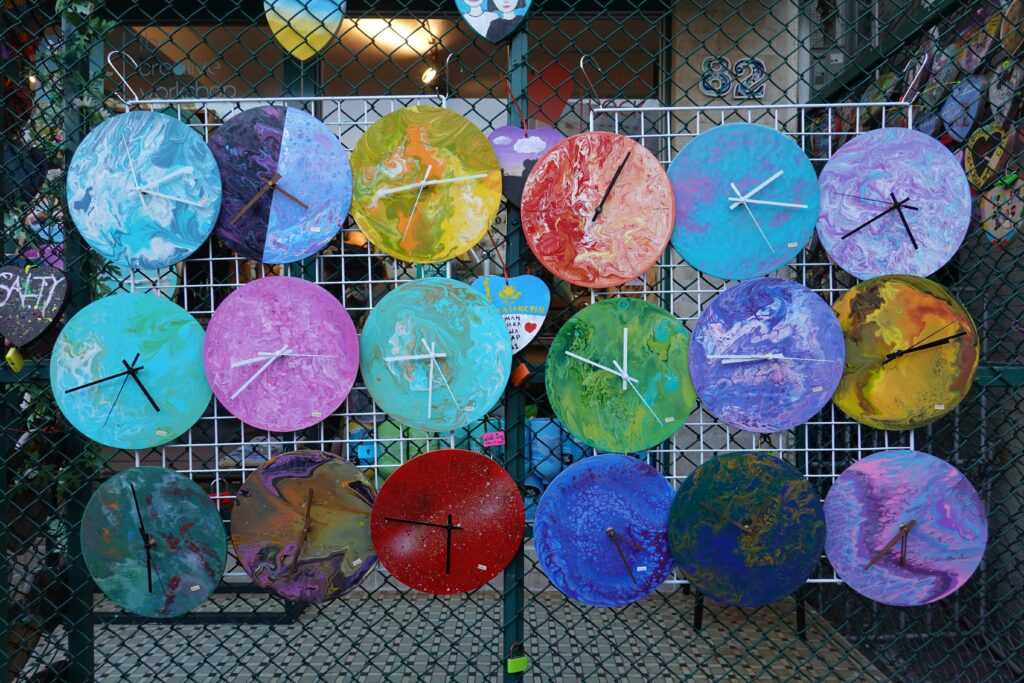
Are you looking for creative ways to spruce up your living space without breaking the bank? In this article, I’ll share 10 simple and fun DIY crafts that you can easily create using everyday household items. From old jars to leftover fabric scraps, you’ll be amazed at the incredible crafts you can make with items you already have at home.
DIY Crafts Using Everyday Household Items: A Review
Exploring creative ways to repurpose everyday household items into DIY crafts can add a personal touch to your living space while being budget-friendly. From transforming old jars into elegant candle holders to repurposing leftover fabric scraps into colorful coasters, these simple and enjoyable projects can unlock your creativity using items readily available at home.
Craft 1: Paper Plate Wind Chime
Materials Needed
To create a paper plate wind chime, you’ll need a few simple materials that you probably already have at home. Gather the following items:
- Paper plates (2-3 depending on the size of the chime)
- Paints or markers for decorating
- String or yarn
- Beads or bells
- Scissors
- Hole punch
- Optional: stickers, glitter, or other decorative items
- Decorate the paper plates: Use paints, markers, stickers, or glitter to decorate the paper plates in any design you like. Let them dry completely.
- Cut the plates: Once the paint is dry, cut the paper plates into strips starting from the outer edge towards the center, leaving a small uncut portion in the middle.
- Punch holes: Use a hole punch to create holes near the uncut center of each strip.
- String the strips: Cut a piece of string or yarn to your desired length and thread it through the holes in each strip of the paper plates. You can add beads or bells between the strips for added decoration.
- Tie a knot: Once all the strips are threaded onto the string, tie a knot at the top to secure them in place.
- Hang it up: Find a nice spot to hang your paper plate wind chime, perhaps near a window or in your garden, and enjoy the gentle sounds it creates.
Craft 2: Mason Jar Herb Garden
To create a charming Mason Jar Herb Garden, you’ll need a few simple materials and follow easy steps to bring greenery into your space.
Materials Needed
Here’s what you’ll need to start your Mason Jar Herb Garden:
- Mason jars
- Potting soil
- Herb plants (like basil, mint, or parsley)
- Pebbles or stones
- Water
- Begin by filling the bottom of each mason jar with a layer of pebbles or stones. This will help with drainage.
- Add potting soil on top of the pebbles, leaving enough room at the top for the herb plant’s roots.
- Gently remove the herb plants from their containers and plant them in the mason jars.
- Water the herbs carefully, ensuring the soil is moist but not waterlogged.
- Place your Mason Jar Herb Garden in a sunny spot and watch your herbs thrive!
With these simple steps, you can enjoy fresh herbs right at your fingertips with a beautiful Mason Jar Herb Garden.
Craft 3: Homemade Stamped Tote Bag
Materials Needed
To create your very own homemade stamped tote bag, you’ll need the following items:
- Plain cotton tote bag
- Various rubber stamps
- Fabric paint in assorted colors
- Paint palette or small container for mixing
- Paintbrush
- Paper towels
- Cardboard or old newspapers to prevent paint bleed
- Iron
Crafting a stamped tote bag is a fantastic way to showcase your creativity and make a personalized accessory. Make sure you have all the necessary supplies before starting the project.

